Thursday, February 3, 2011

Le Duchesse II

This dress is also made of curtains- the fabric used to surround my 4 poster bed. Luckily I had a couple panels left over and was able to make a new underskirt and use the original skirt to create a polonaise. That was easy. The hard part was making some trim for the sleeves. I absolutely love the trim around the neckline- thing is I didn't have any more of the mocha and black trim that went down the center. I'd found one measly yard of it in a craft store in Vancouver and there was no way I was going to find anymore of it. I also didn't have any success in rummaging through my lace bin for something suitable for an engageant sleeve finish. I spent a couple hours tea dyeing a couple possibilities when I rememebered a skirt I had made with a rose and gold colored lace. I managed to find it and it just so happened to be mounted on a chiffon that was exactly the same color as the ribbon I couldn't get my hands on. Double success!

I hand stitched the lace, ribbon and fringed trim around the sleeve edge and finished it with a little bow.

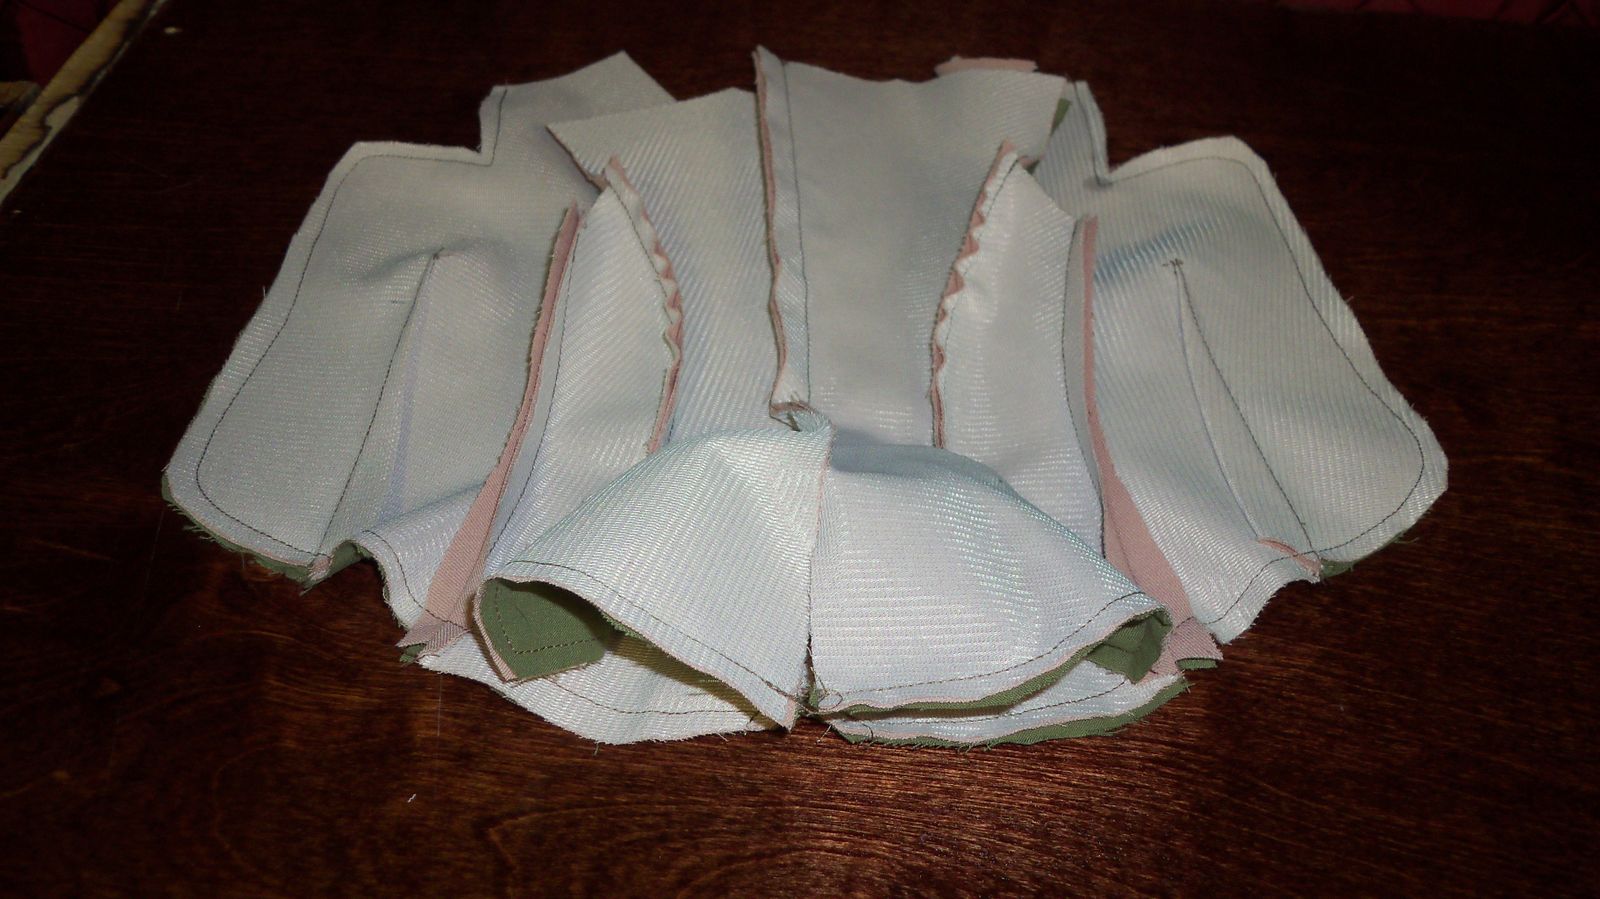
I made the corset a couple years ago. It's made of a burgundy silk with a black cotton lining. I stitched bone casings just under 1/4". I picked up a sheaf of 2mm wooden rods and used them instead of some other type of boning. They were free and have just enough give to curve nicely around the body. I punched in standard black metal eyelets, and then buttonhole stitched around them for extra stability.


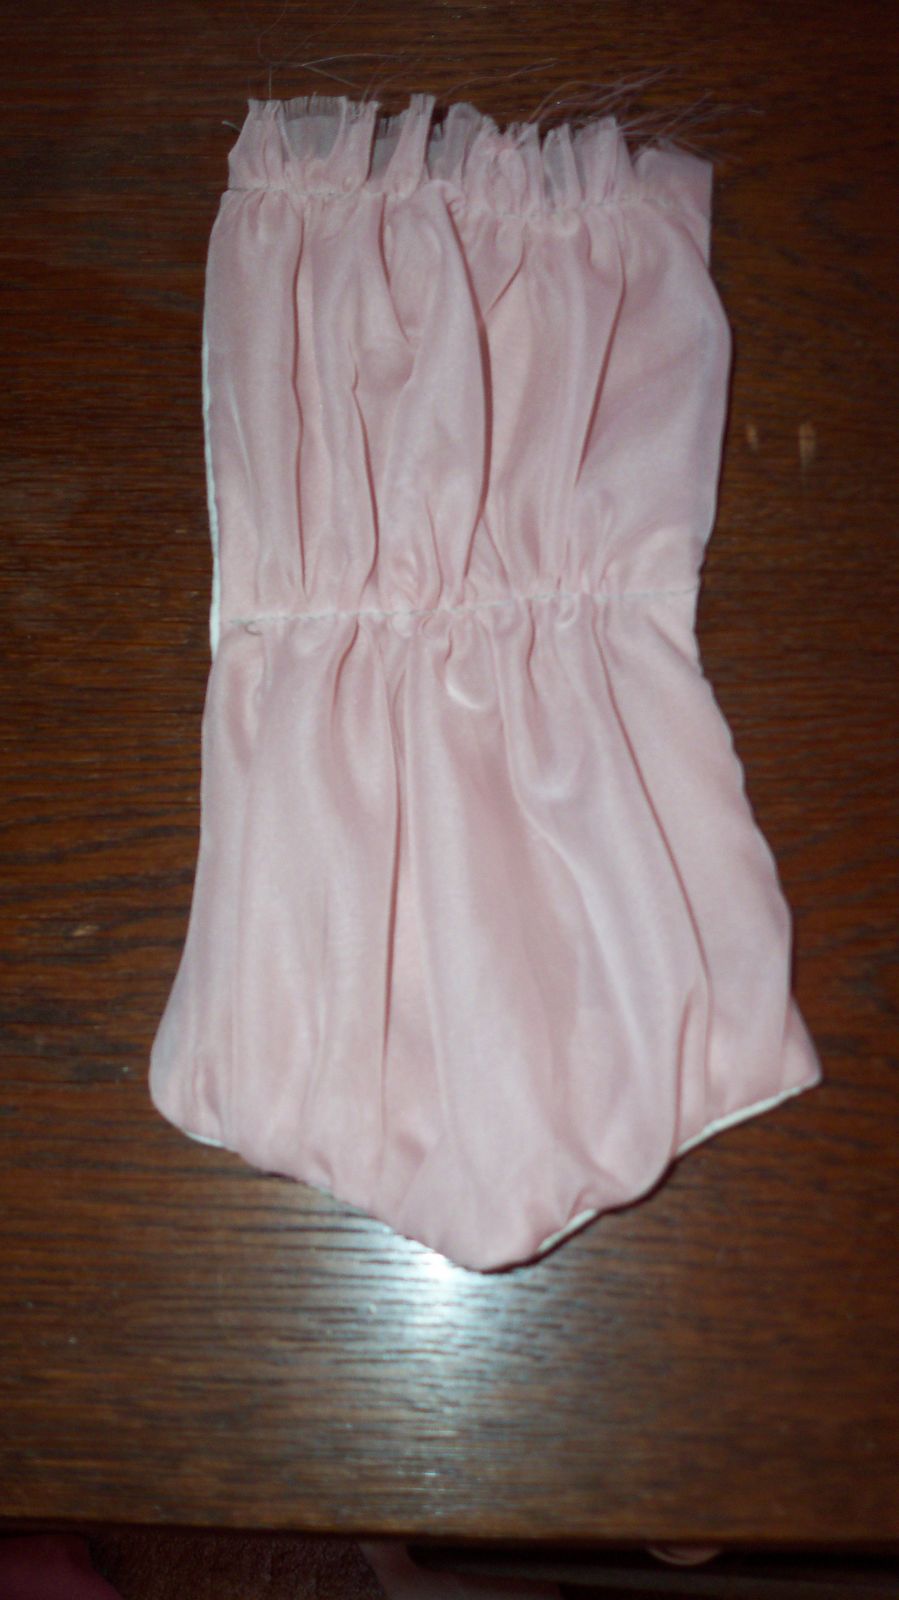
The next layer I added was my hiproll and a very mangled pair of panniers, and then 2 more petticoats.
Then came the underskirt and overskirt- which can be left loosely "bustled" or into a fuller polonaise.

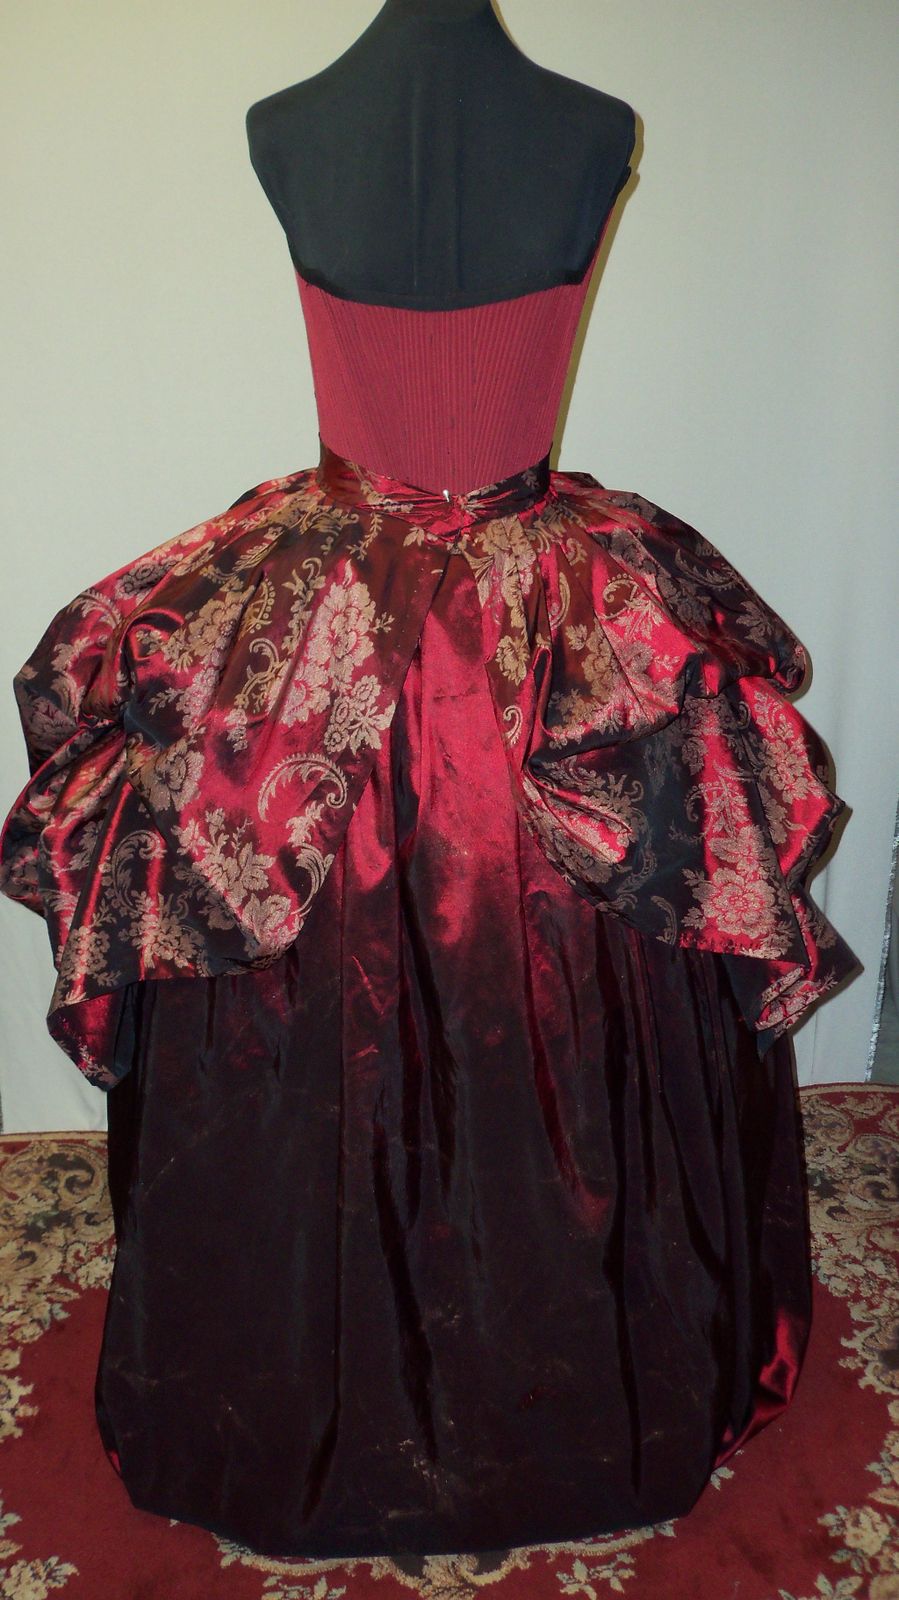
Add on the bodice and a pretty little waist sash with a circular rhinestone brooch and your set. If only I lived in Bath...


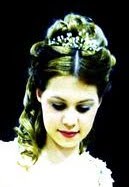
 Comparison of the original trim on the neckline and the new last minute sleeve trim. Had I used black thread to stitch down the new trim it would have been even closer...The red strings get tucked into the bodice when worn. They run through the trim and can be pulled in to help the neckline hug the decolete.

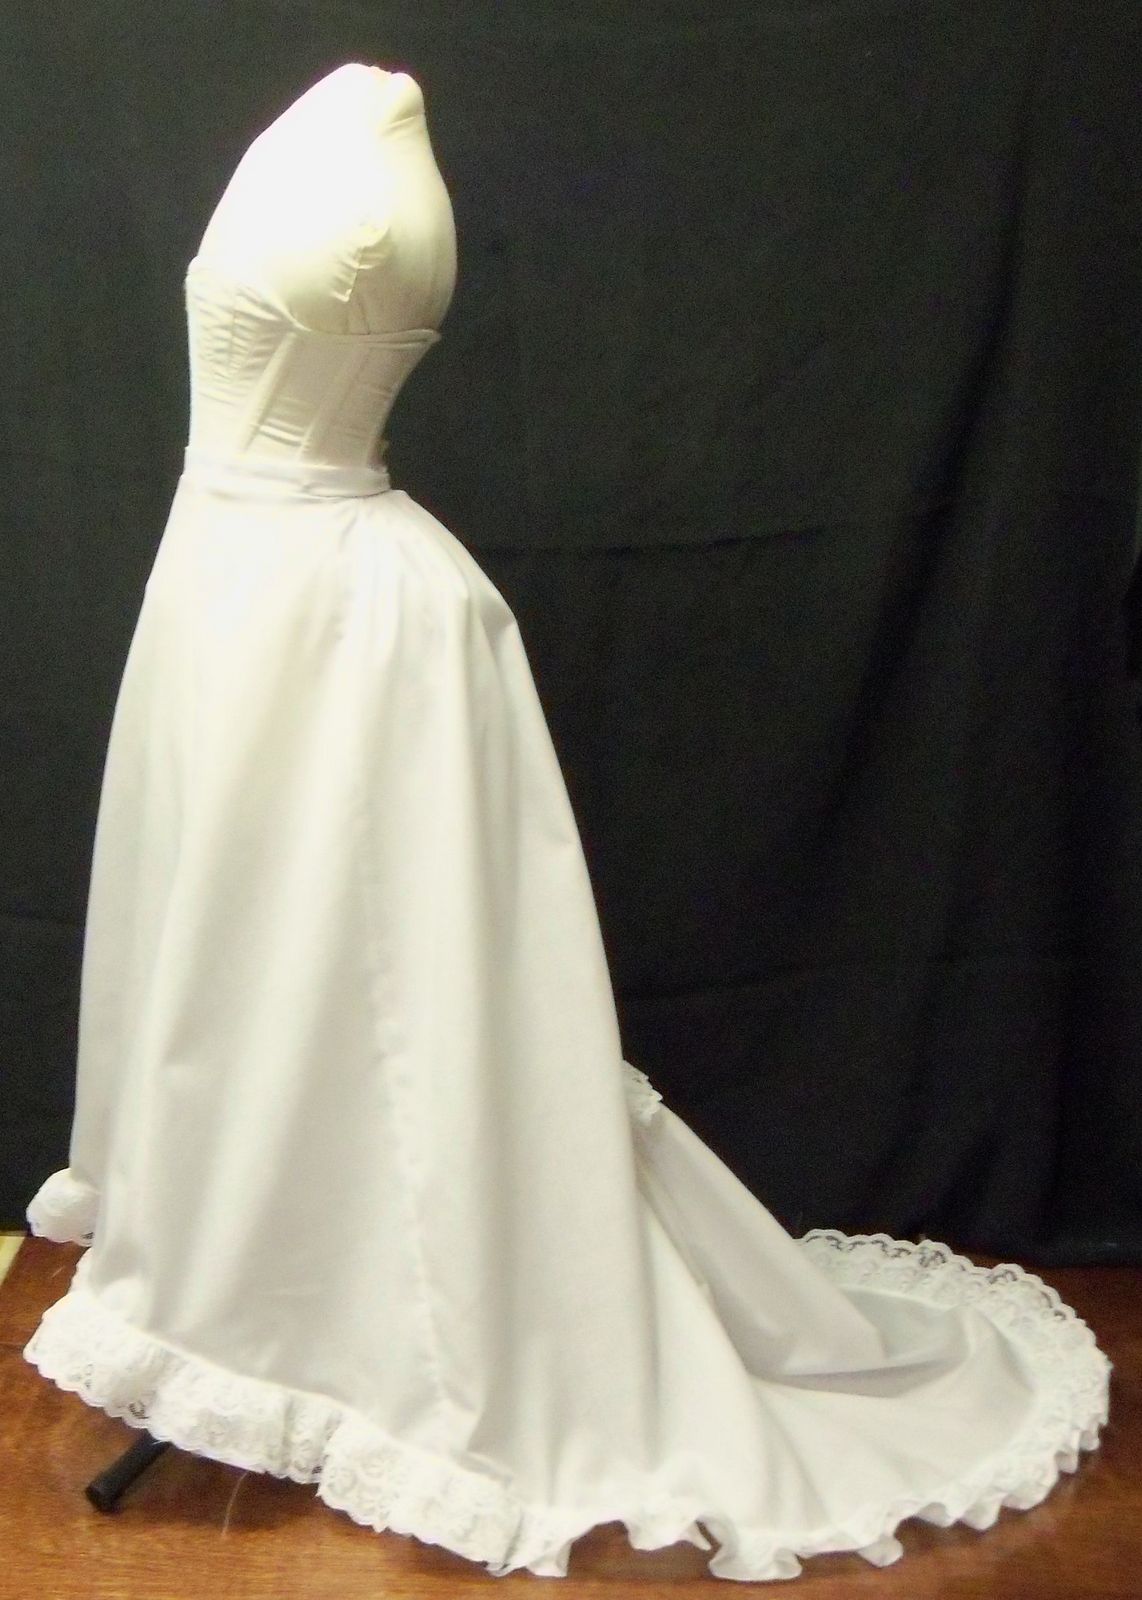
I had to split the back seam to get the bodice done up. I really need to figure out a human sized "squishable" bustform. a pointy bust does nothing for historical costuming...


A Moment of Panic

4 nights before I needed to have my entries finished I had a really horrible dream about the Judging and decided to revert to my halloween costume from last year. Georgiana Duchess of Devonshire Circa 1770. It's one of my favorite costumes- I made it during my year at Costume University so it displays some of my improved skills. But I didn't have any documentation of making it so I'd ruled it out as a possible entry.

I pulled it out of the closet a couple days ago and set at improving it. It's got a lot more oomph visually and thats what I really want to enter.

The Bodice

I had a couple pictures of bodices that I absolutely loved so I had a better idea of what I wanted. I interfaced the pink fabric to minimize stretching and then cut it and the green cotton lining out at the same time using an enlarged version of this pattern:

I got all the side seams put together, with all the wonderful lining and clipped right angles and curves- and then decided  I didn't like the pleat at the center back. So I cut out the extra fabric, reshaped the bottom edge line and then sewed it all back together again.


I liked the way it looked when I did my mockup, but it looked too bulky when I had both layers of the bodice turned out.
I must say I was quite impressed at how nicely I got my lining and all the angles to sit when sewing it together.
After revamping the bodice I put on the lovely little sleeves and then hand stitched in the sleeve lining.

 
 The collar is of the green striped fabric with a tube of pink ciffon ruffle along the top edge. I applied on edge by machine and then hand stitched it down on the inside- adding a snap to close on the inside and a cream pearl button on the outside for decoration. I wasn't about to try a 5mm buttonhole...

 The center front panel is made of pink chiffon gathered on the the same pink fabric as the bodice and then sandwiched with a cream cotton backing that I stitched rows into to gives some strength. I put in a row of basting stitches to hold the gathering in place while I pressed it.

I had a beautiful antique clasp that would have looked amazing- but I would have needed three and the only other suitable trim I had was some green satin ribbon, so I bradied it up and then knotted it into 8 loops which fasten to the center panel. I don't love it but it works.

The Skirt

I cannot describe the excessive amount of time I spent on this skirt- There seemed to be no end of pulling apart and tweeking and draping and trimming... I love it now though- even though the train isn't quite as round and full as I'd like. It ended up a little pointy :(


 The skirt laid out flat in half with the horrific gathering already applied- Later to be picked off due to twisting (who's bright idea was it to use stretchy fabrics!?!!)
The inside of the gathered center front- interfaced on the back and still being a massive pain.


This is from the top looking down the center front. After detatching the gathered bits from the skirt I reapplied it going around the skirt instead of straight up the center front. I sandwiched some heavy pink fringe trim between the chiffon and skirt fabric which seems to help give everything a bit more shape. Note in this picture that it all wraps to center back.That'll change...

  
As seen from the right side after hours of fussing.


I spent a lot of time draping and fussing. I couldn't seem to achieve the lines I wanted. I did however know what I wanted to do for my trim so I cut some 2" wide strips and set to work pleating- this is one of the few parts that went smoothly- mostly thanks to the stripes.

 
 The fabric is some sort of poly blend so instead of turning the edges I melted them. The lighter portions melted slightly more that the dark green did so it gave it an uneven up and down edge. I suppose I could have pinked it-probably would have looked even better.

I applied a single layer of pleats to the bottom edge and felt that it wasn't enough so I took my remaining length, sewed a second row of stitches down the middle and split it in two, giving me a second layer of trim half the width of the first.


It still looked a little unfinished to me and I wanted to add a row of green velvet ribbon- but this little town I live in had nothing of the sort so I cut a 1/2" wide strip and made my own and then applied it using a vine pattern on my sewing machine.

After shortening the gathering to end at the side seam I added a green velvet draped panel at each side back. They're basically just rectangles with one edge sewn up the side seam and the top point trimmed down to match the curve of the waist seam. This left a point hanging down towards the hem and allows it to fold and drape nicely.

The center back peice has the same pleating as the balayeuse. I pinched the skirt together about half way down and stitched it closed. This left me with a convenient place to loop through a green velvet "tail" to add a little extra decoration.

The wasit fastens closed with a single hook and eye that brings together the top pleat at center back.

Tuesday, February 1, 2011

The Balayeuse

I admit that I'd never heard the term "balayeuse" (it's so much fun to spell!)until I read the article about it on YWU. I always thought there were just a lot of ruffles sewn to the underside of every skirt- this makes so much more sense. After reading the article about it I went diving for some cotton and lace. I found what seems to be the only existing pattern online and went to work. It took me a bit to figure out the pleating at the back, but I love the finished result- especially the little covered satin buttons!

For the ruffles I used a 2" wide cotton strip. I turned a 1/4" hem top and bottom and then tried a new technique for gathering. I zig-zagged over a crochet thread and then pulled- Worked fantastically, but I'll use 2 rows next time.


The Corset and Bustle

I upsized the 1884 corset on page 77 of Corsets and Crinolines and cut it out simply of 2 layers cotton.

The tiny bust gores nearly drove me insane- I had to recut and re-sew 2 of them :(

It only had to be strong enough to give shape to my half scale "pillow" bustform so I didn't do much in terms of support of boning.

I didn't have time to drive an hour and a half to find miniature eyelets, or to hand stitch them, so I just laced it up the back using a large needle and some heavy gauge crochet thread.

I based the bustle on the one on page 96 of Corsets and Crinolines. I basically cut out 2 vertical rectangles, one being wider and longer than the other. On the longer one I rounded the bottom edge and then applied 1/2" bias tape horizontally from edge to edge in 4 evenly spaced layers. I inserted the boning, stitched up the sides and across the top and added a little lace along the bottom edge. Voila, A slimline bustle!

1880's Research

I started sorting through the hundreds of images I have saved for this period and narrowed down the styles that I wanted to incorporate and that would be best suited to the materials I had on hand. I narrowed it down to a few images:


 I had bought and started a full scale costume that I had hoped to wear last halloween but changed my mind instead, leaving the remnants of green and pink and striped fabrics. I managed to find some pink chiffon and lovely green velveteen that matched perfectly. I knew immiediately that my biggest challenge would be in getting the fabric to behave the way I wanted it to- It's a lycra blend and all had to be interfaced...